Lunch_Box CyberDeck
- Jun 6, 2020
- 1 min read
Updated: Dec 14, 2024

According to ChatGPT, The term cyberdeck originates from William Gibson’s seminal 1984 sci-fi novel Neuromancer. In the book, a cyberdeck is a portable, high-powered computing device used by hackers (or “console cowboys”) to jack into cyberspace—a fully immersive virtual reality representing global data networks. They are synonymous with the cyberpunk aesthetic: gritty, futuristic, and driven by a DIY ethos.
I decided to build one because I knew it would be challenging. I had to learn how to design in CAD to build the frame that holds the screen and keyboard, I then built a 3d printer, soldered the keyboard, and connected everything to a raspberry pi. My build was featured on Hackaday. Thank you Kristina Panos for taking the time to write about it. Check out the write-up here.
Specs at a glance:
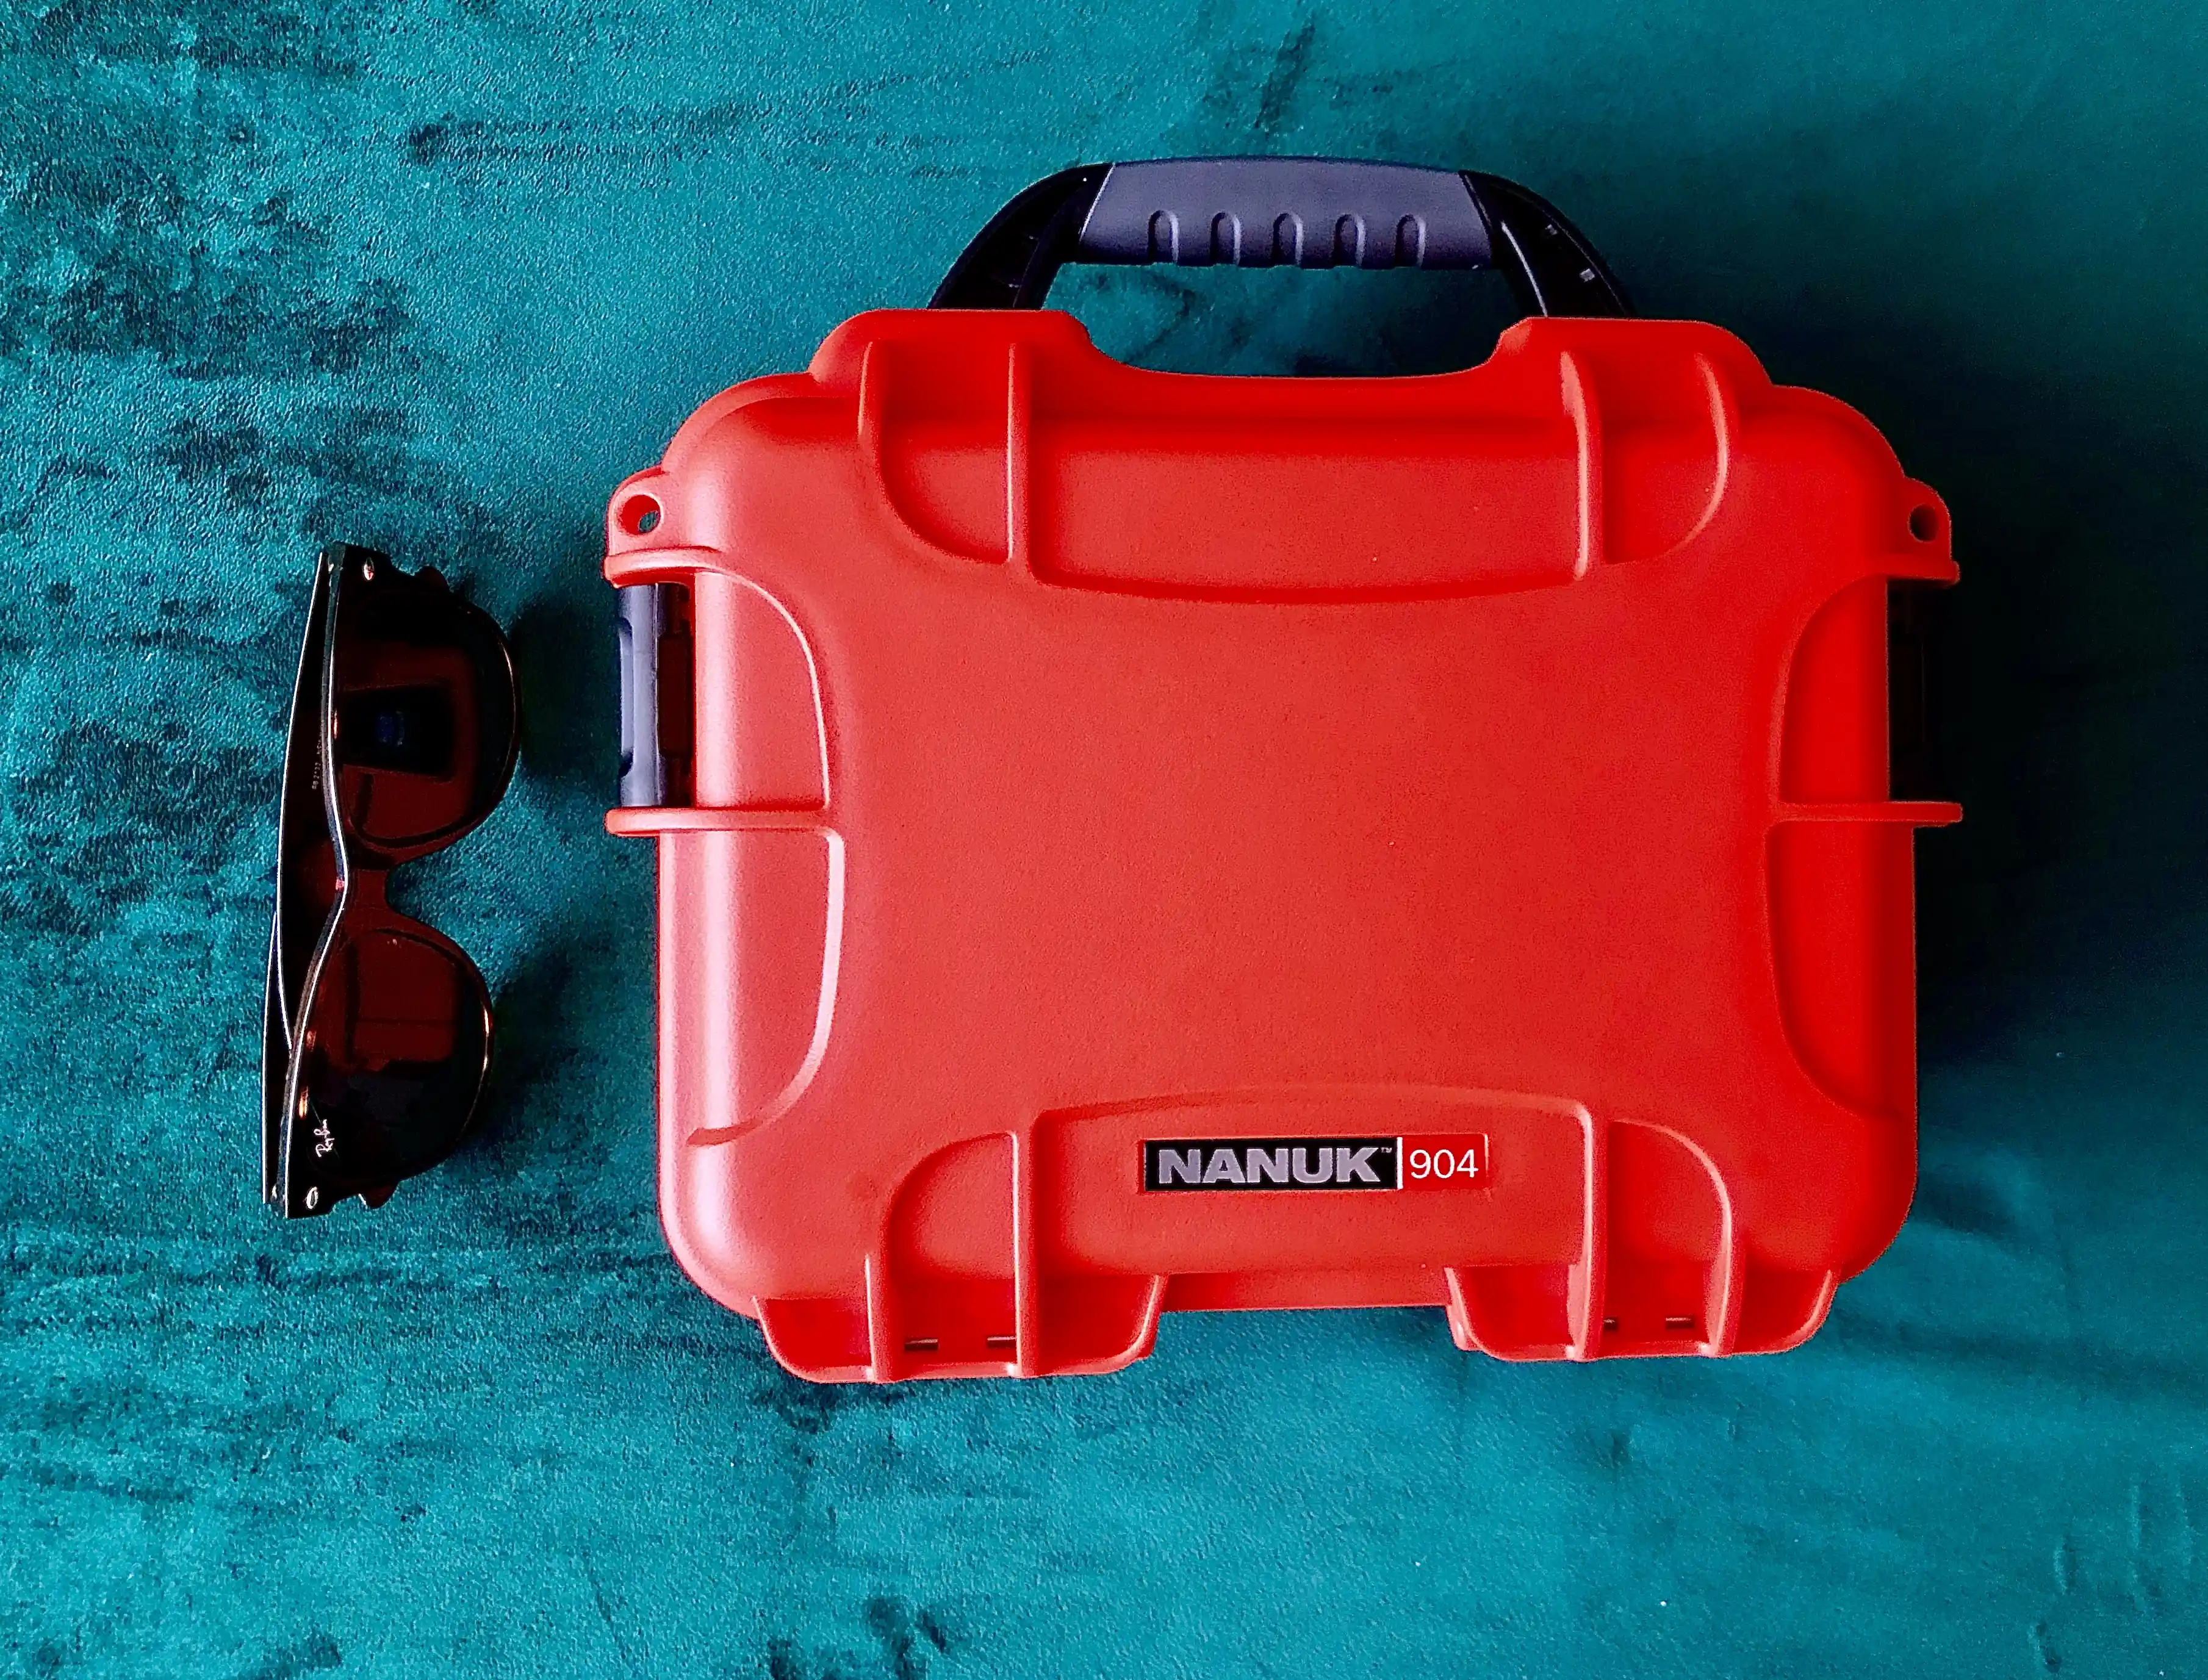
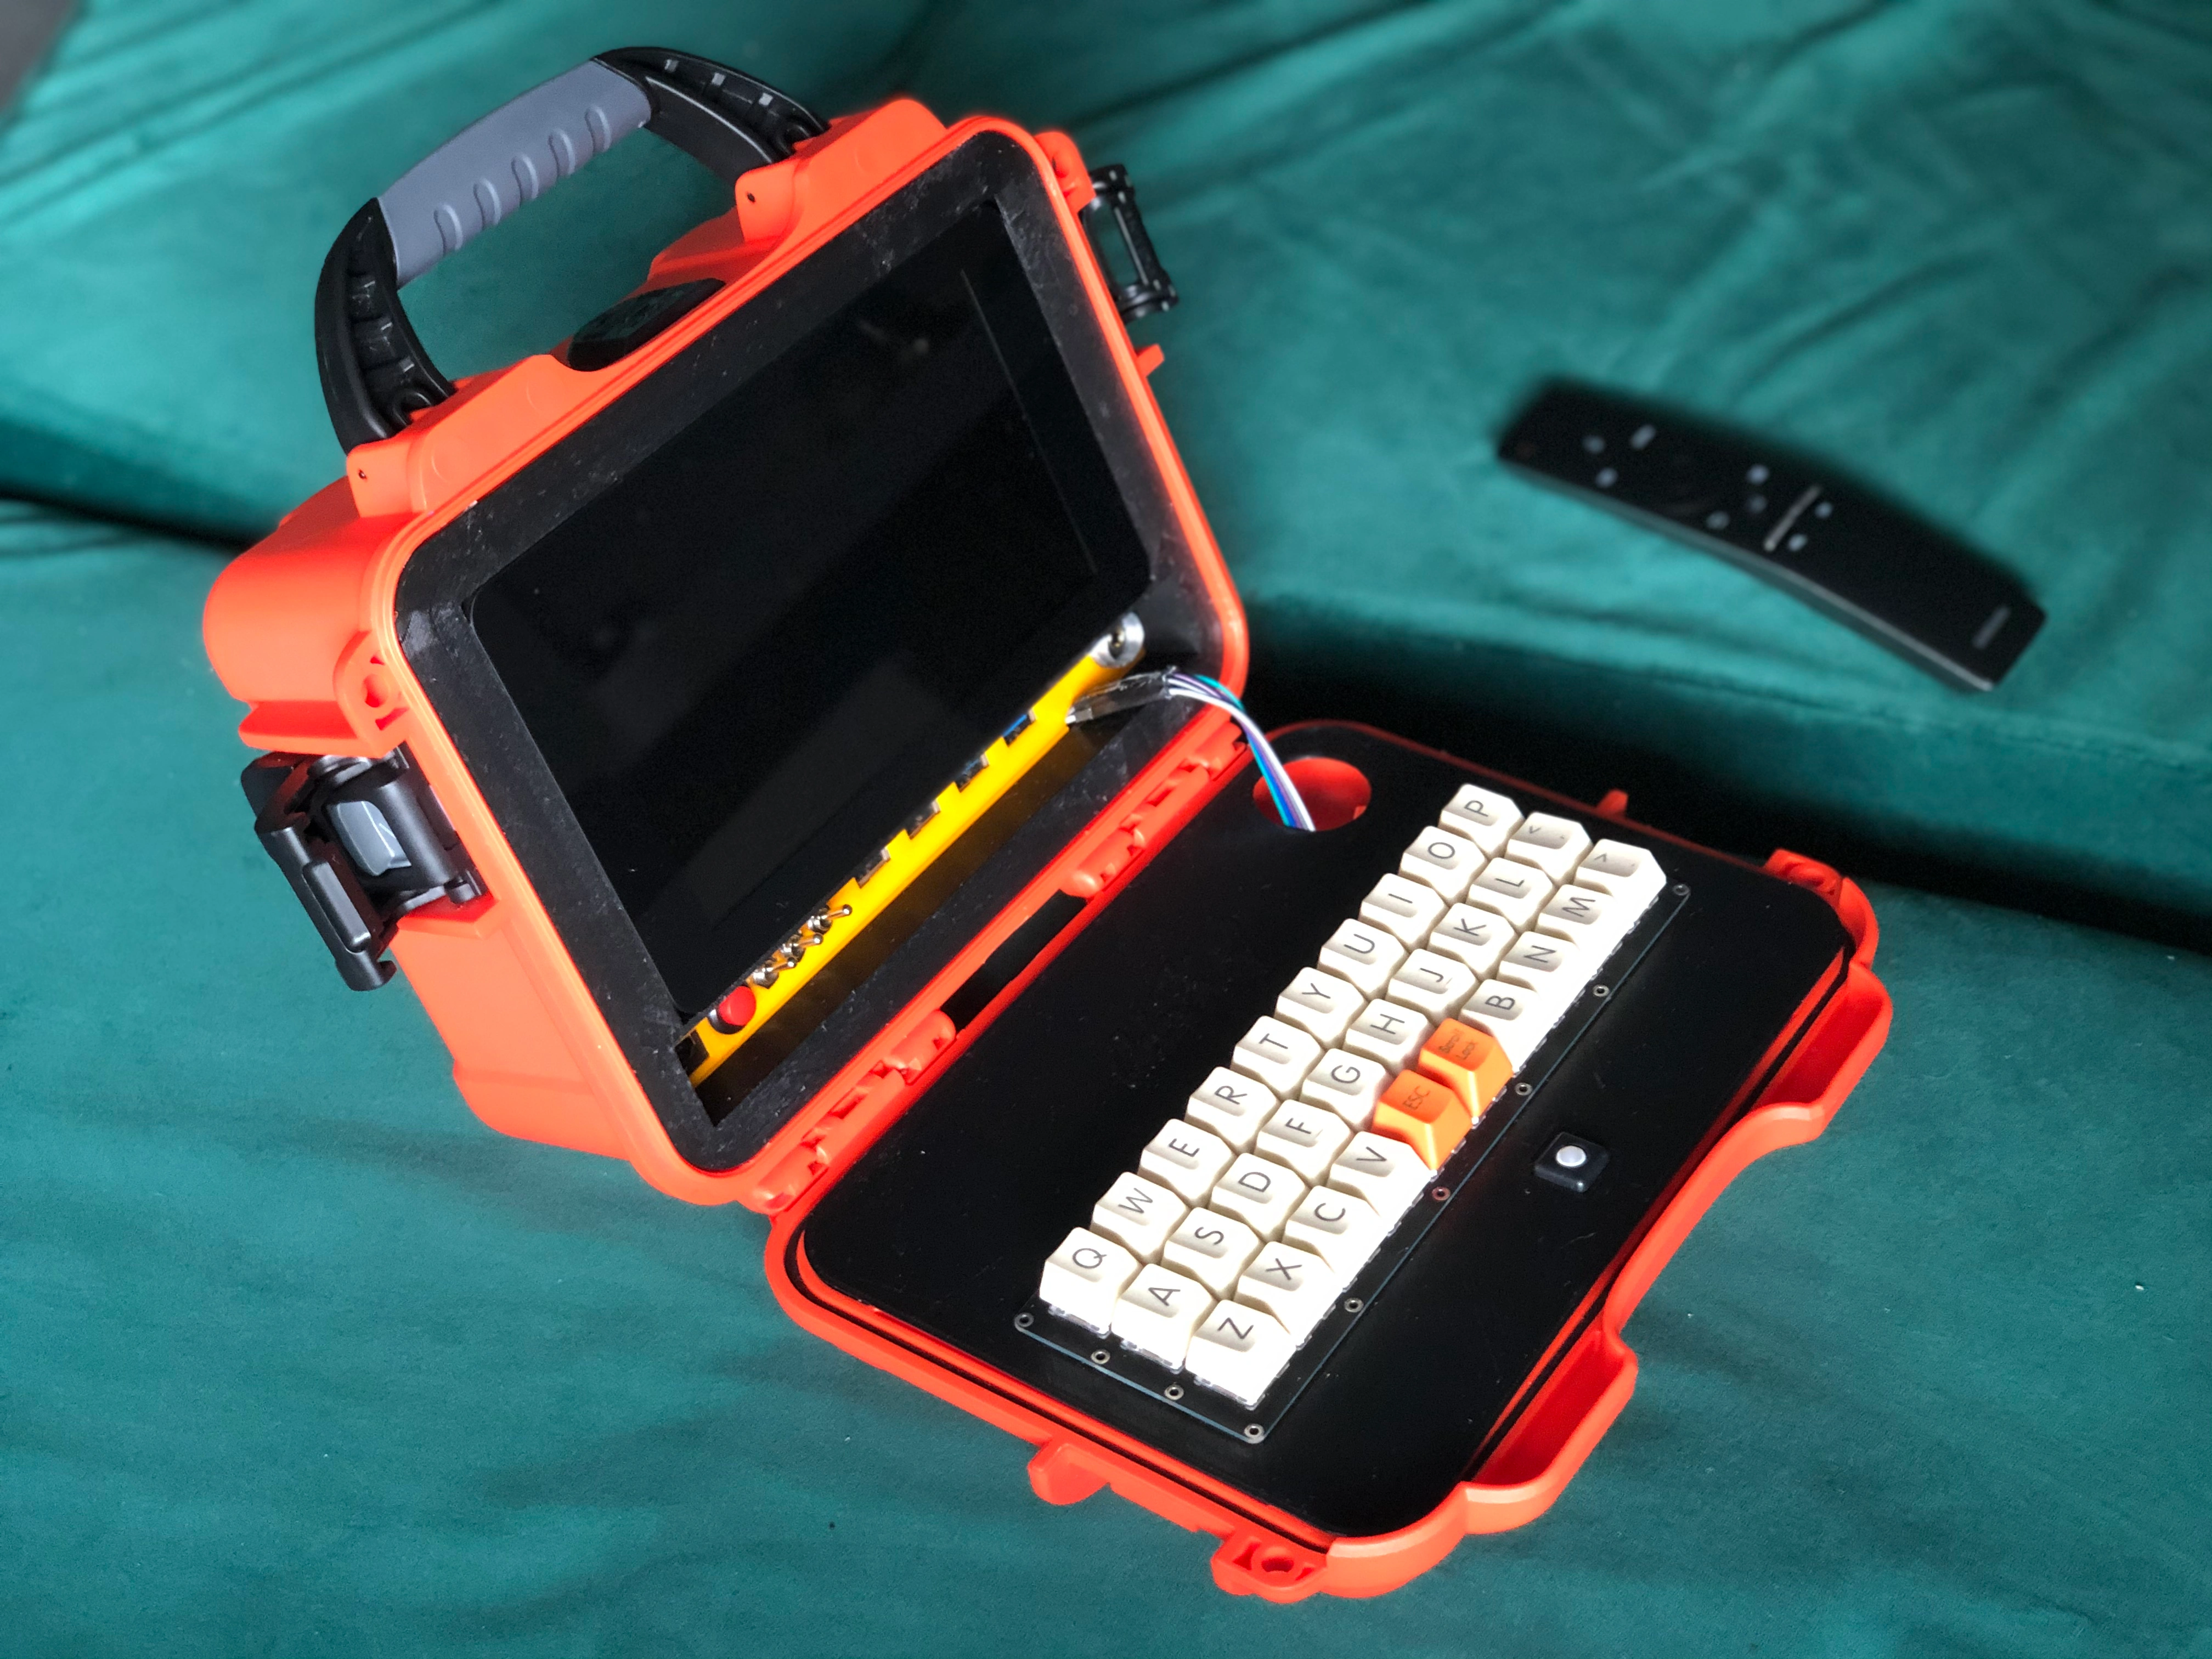
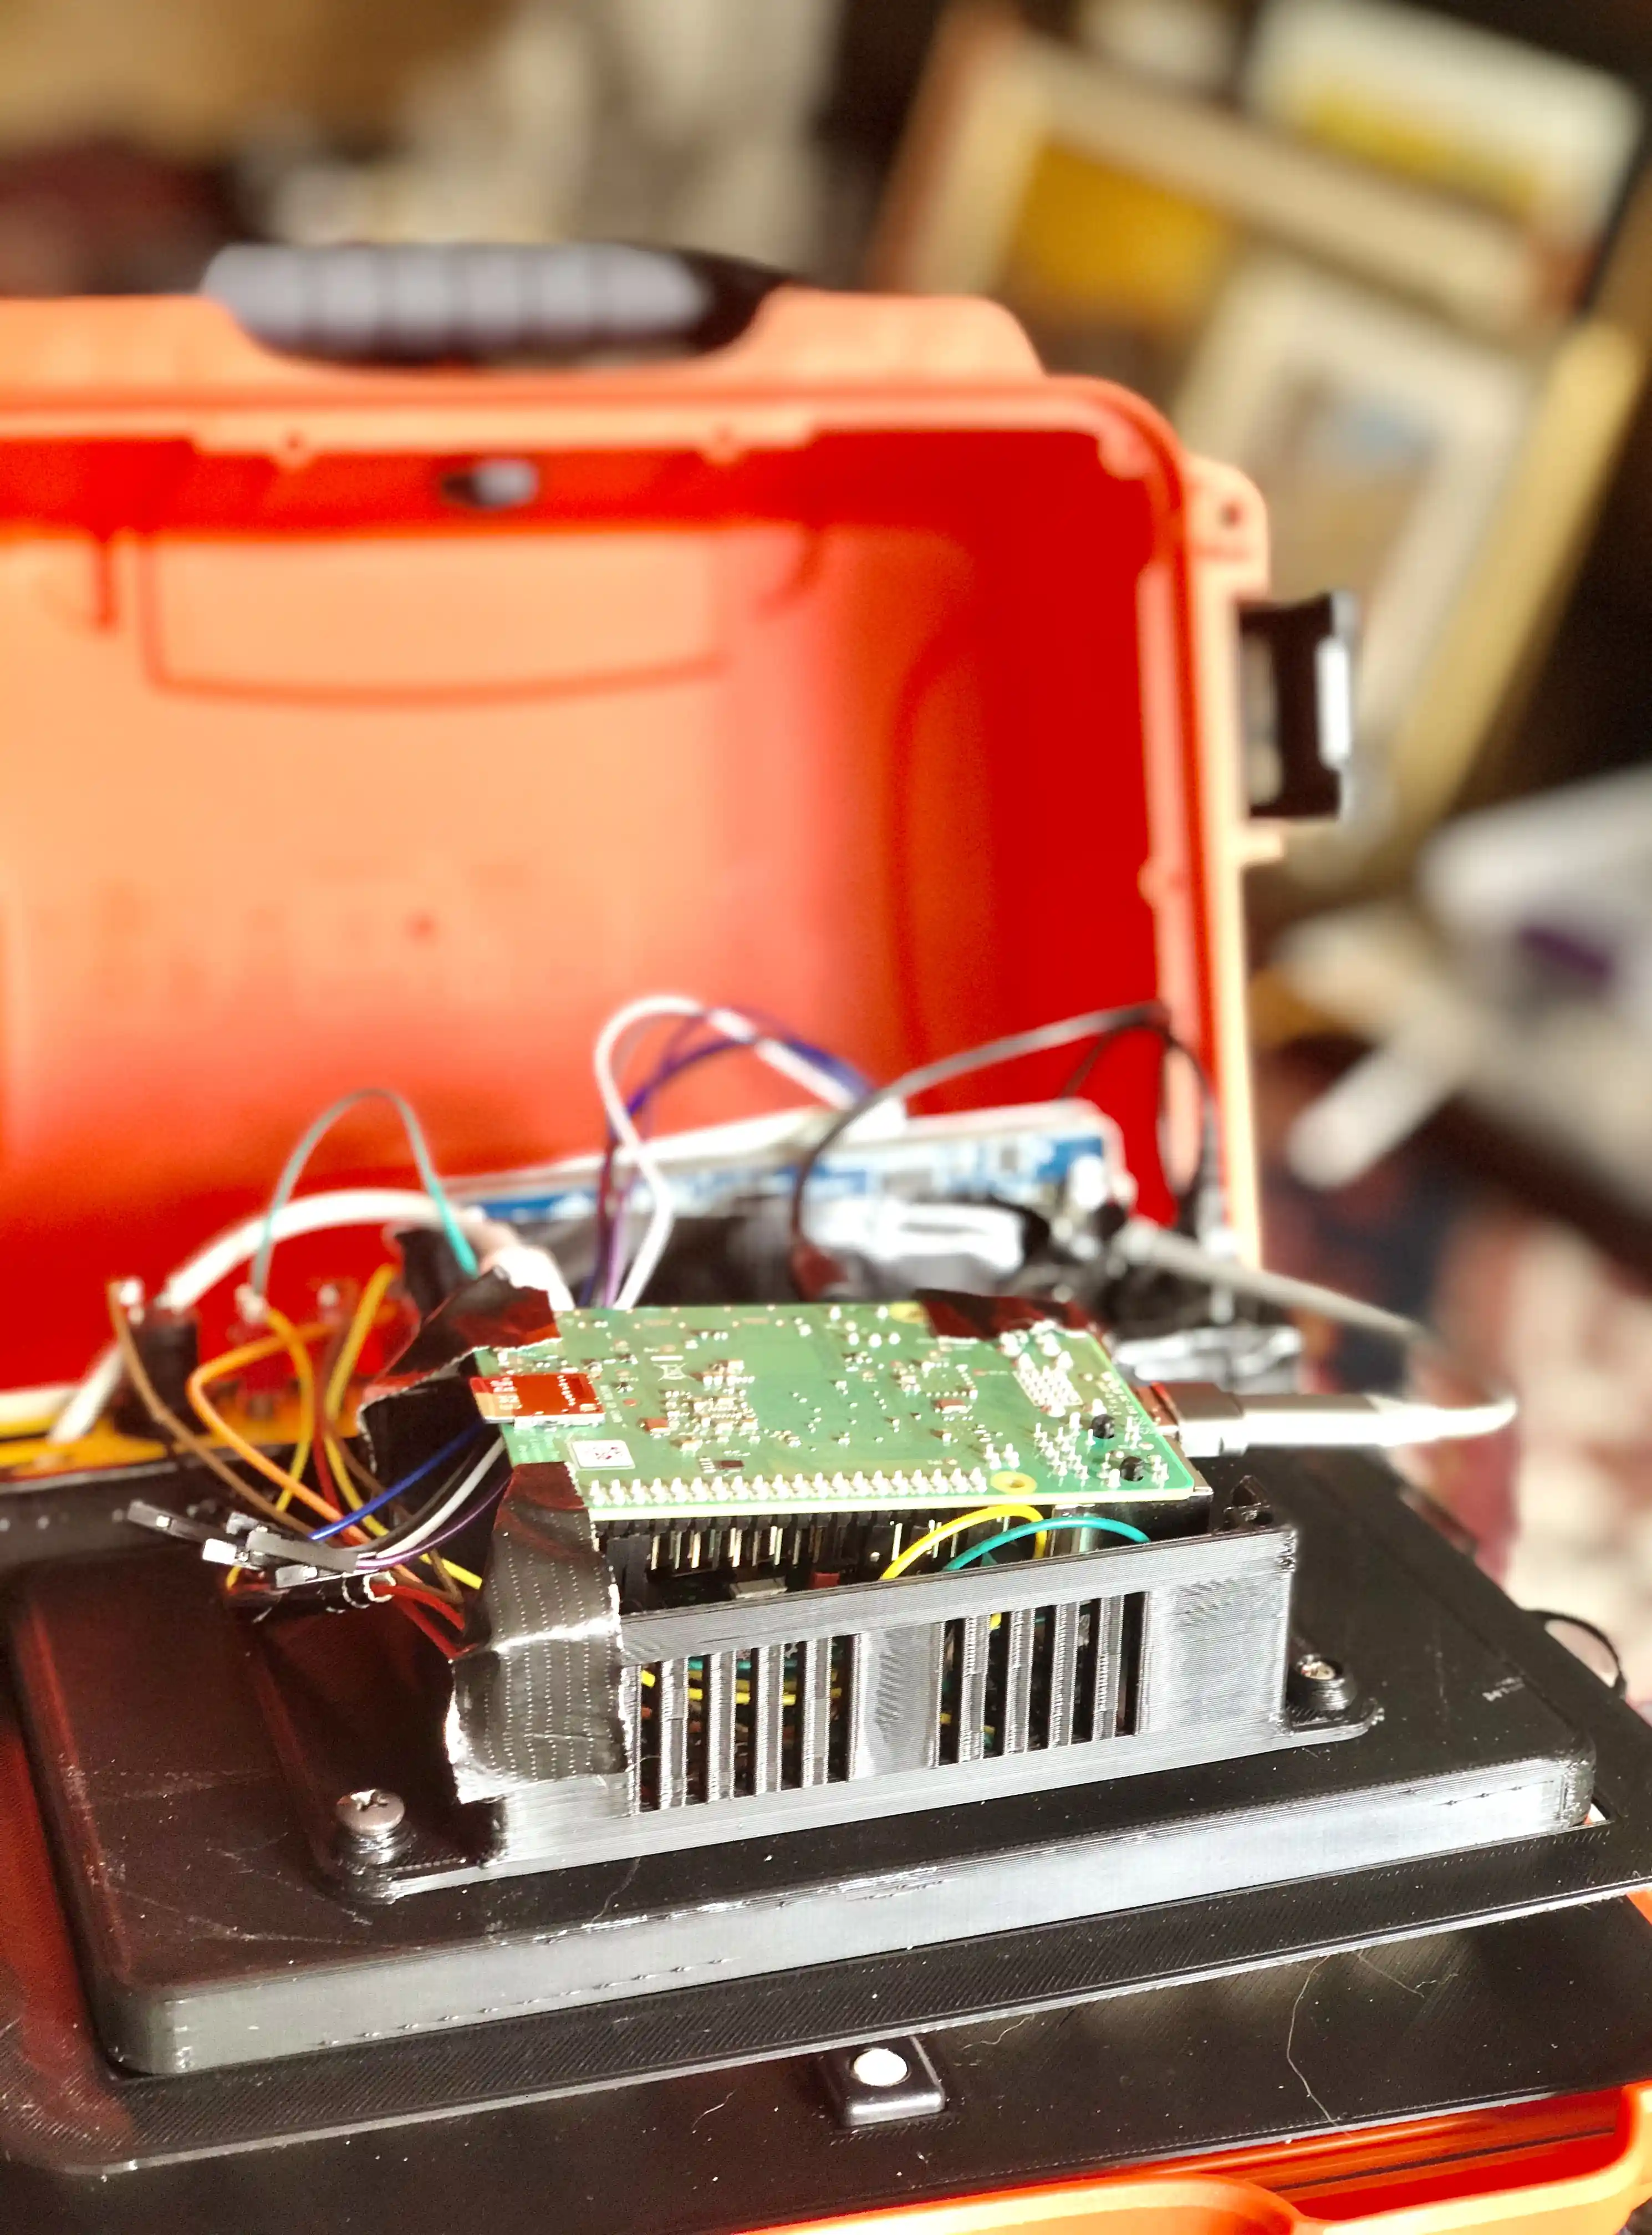
Case: Nanuk 904 waterproof hard-shell
Display: RaspberryPi 7-inch touchscreen, driver-free
Processor: RaspberryPi 4, 2GB RAM
Storage: 64G Samsung Evo Select SD card
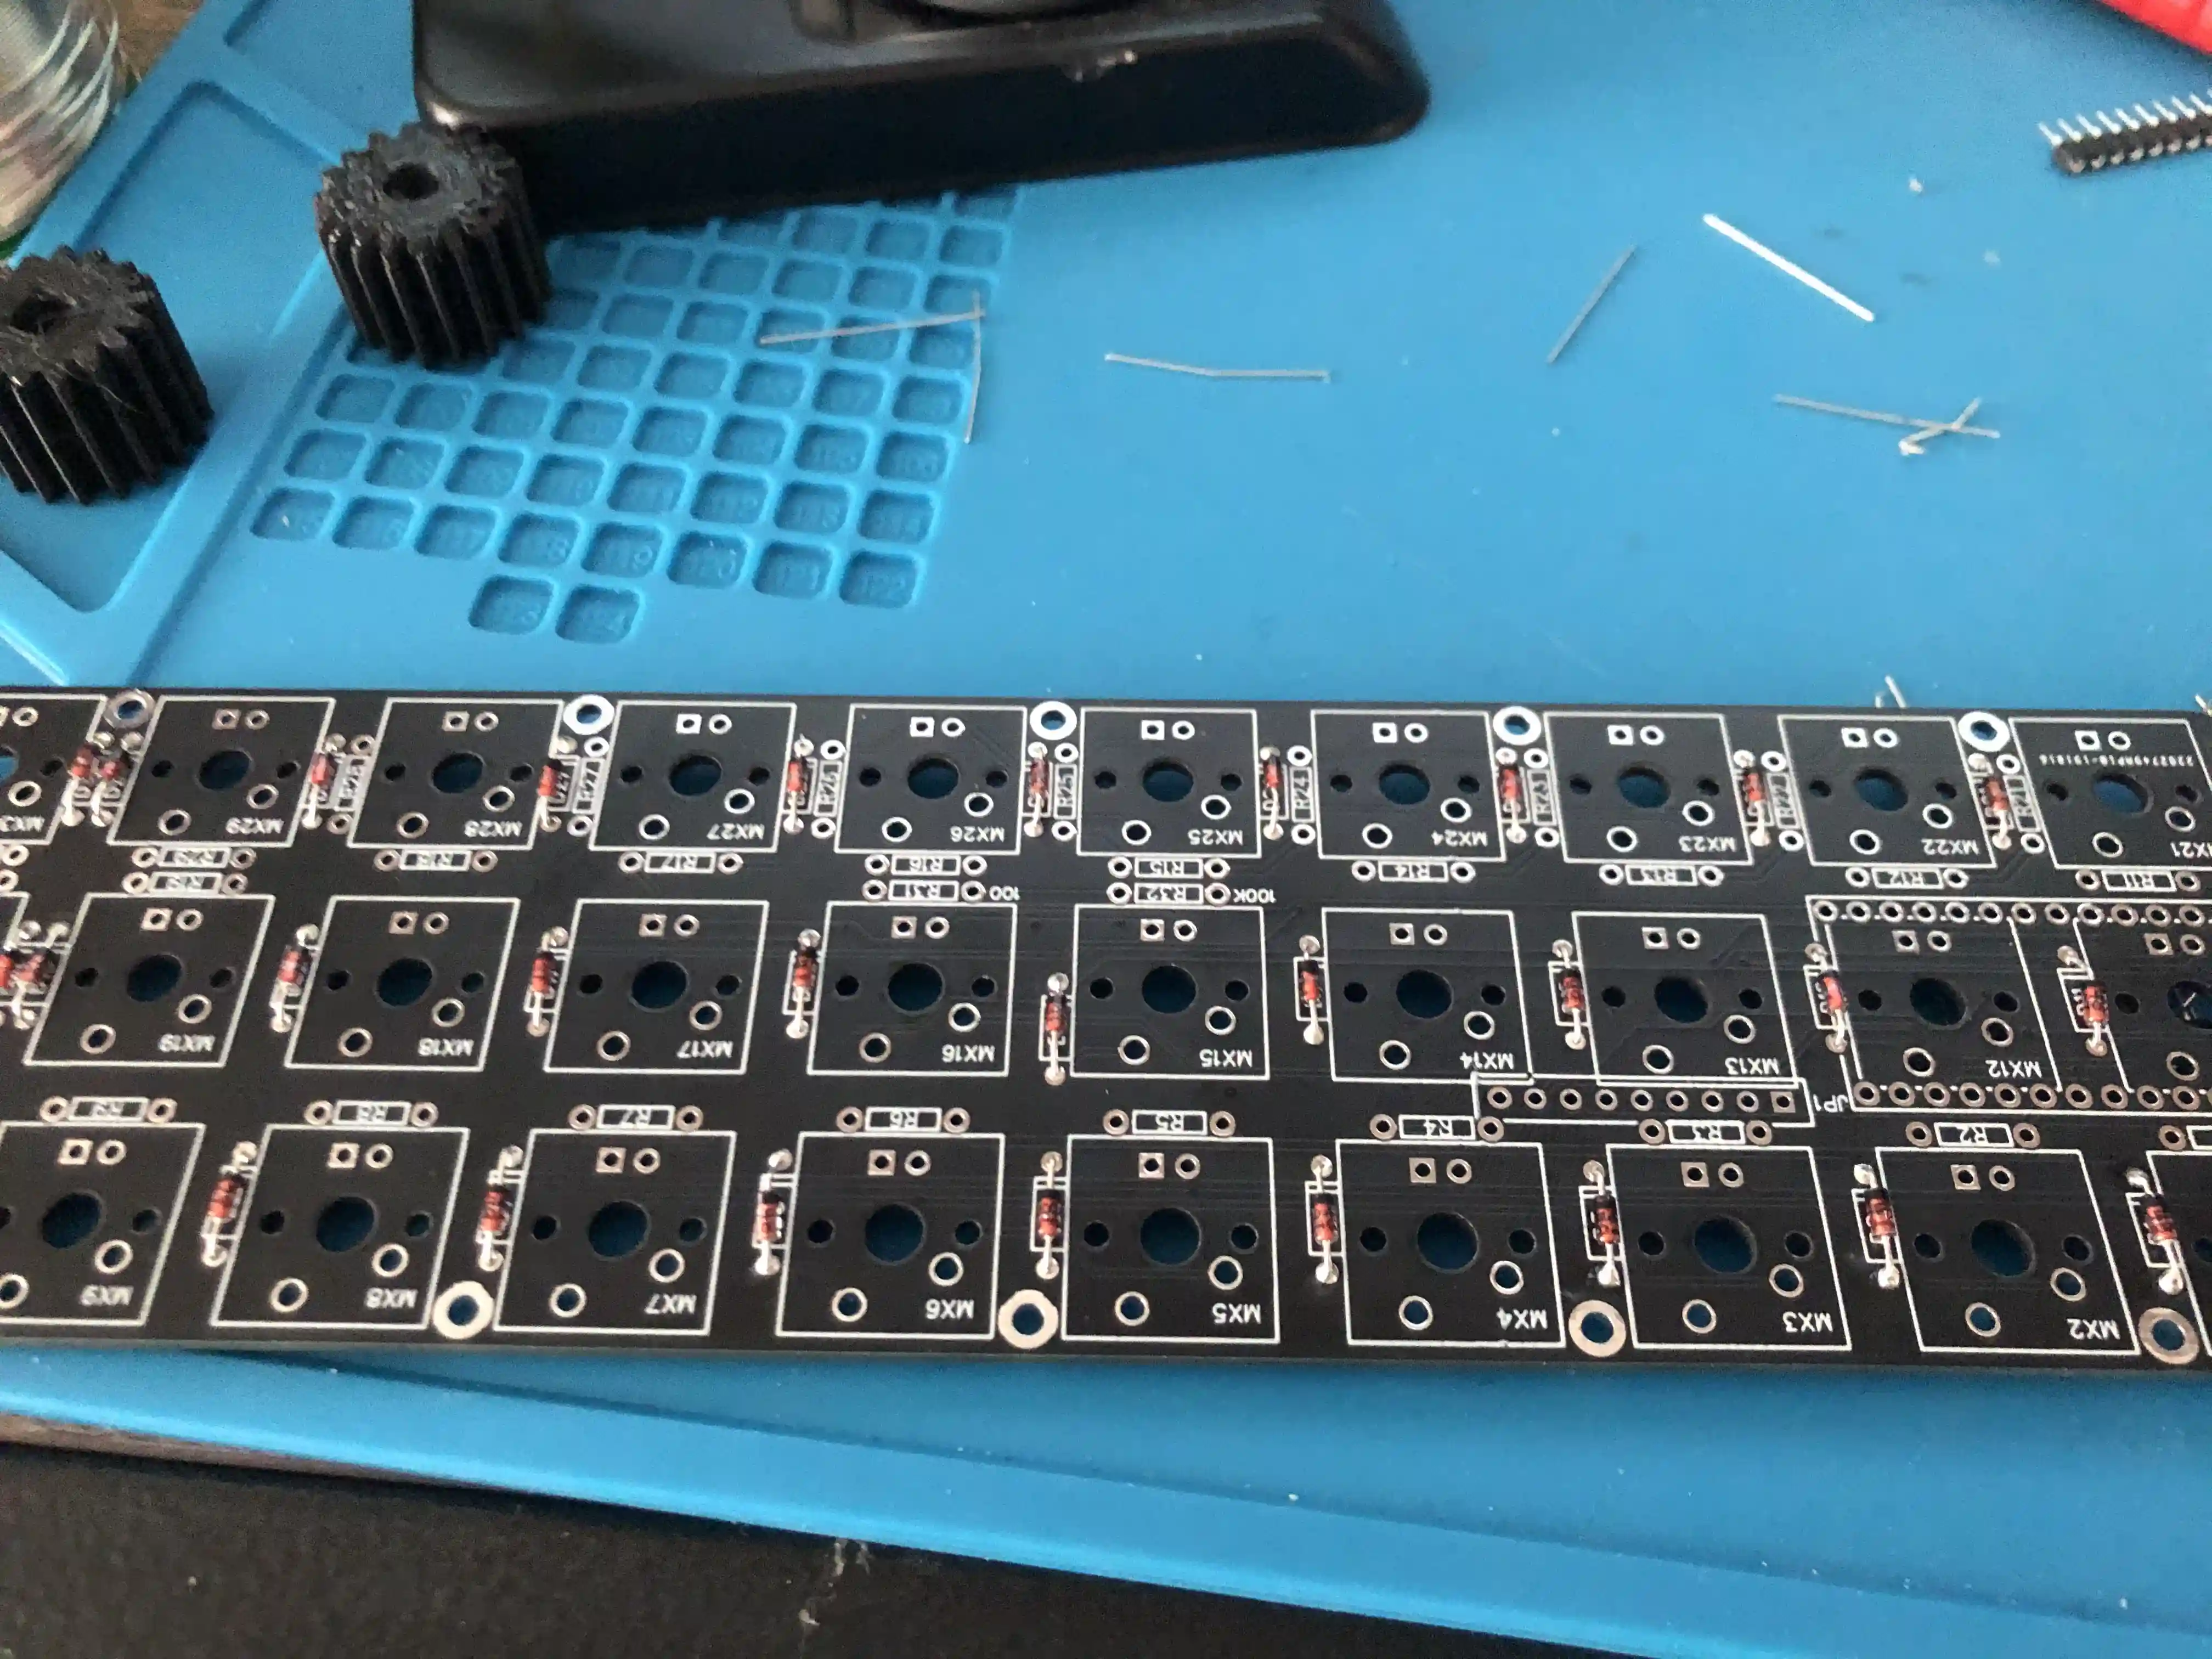
Keyboard: Custom Gherkin, 30% ortho-linear
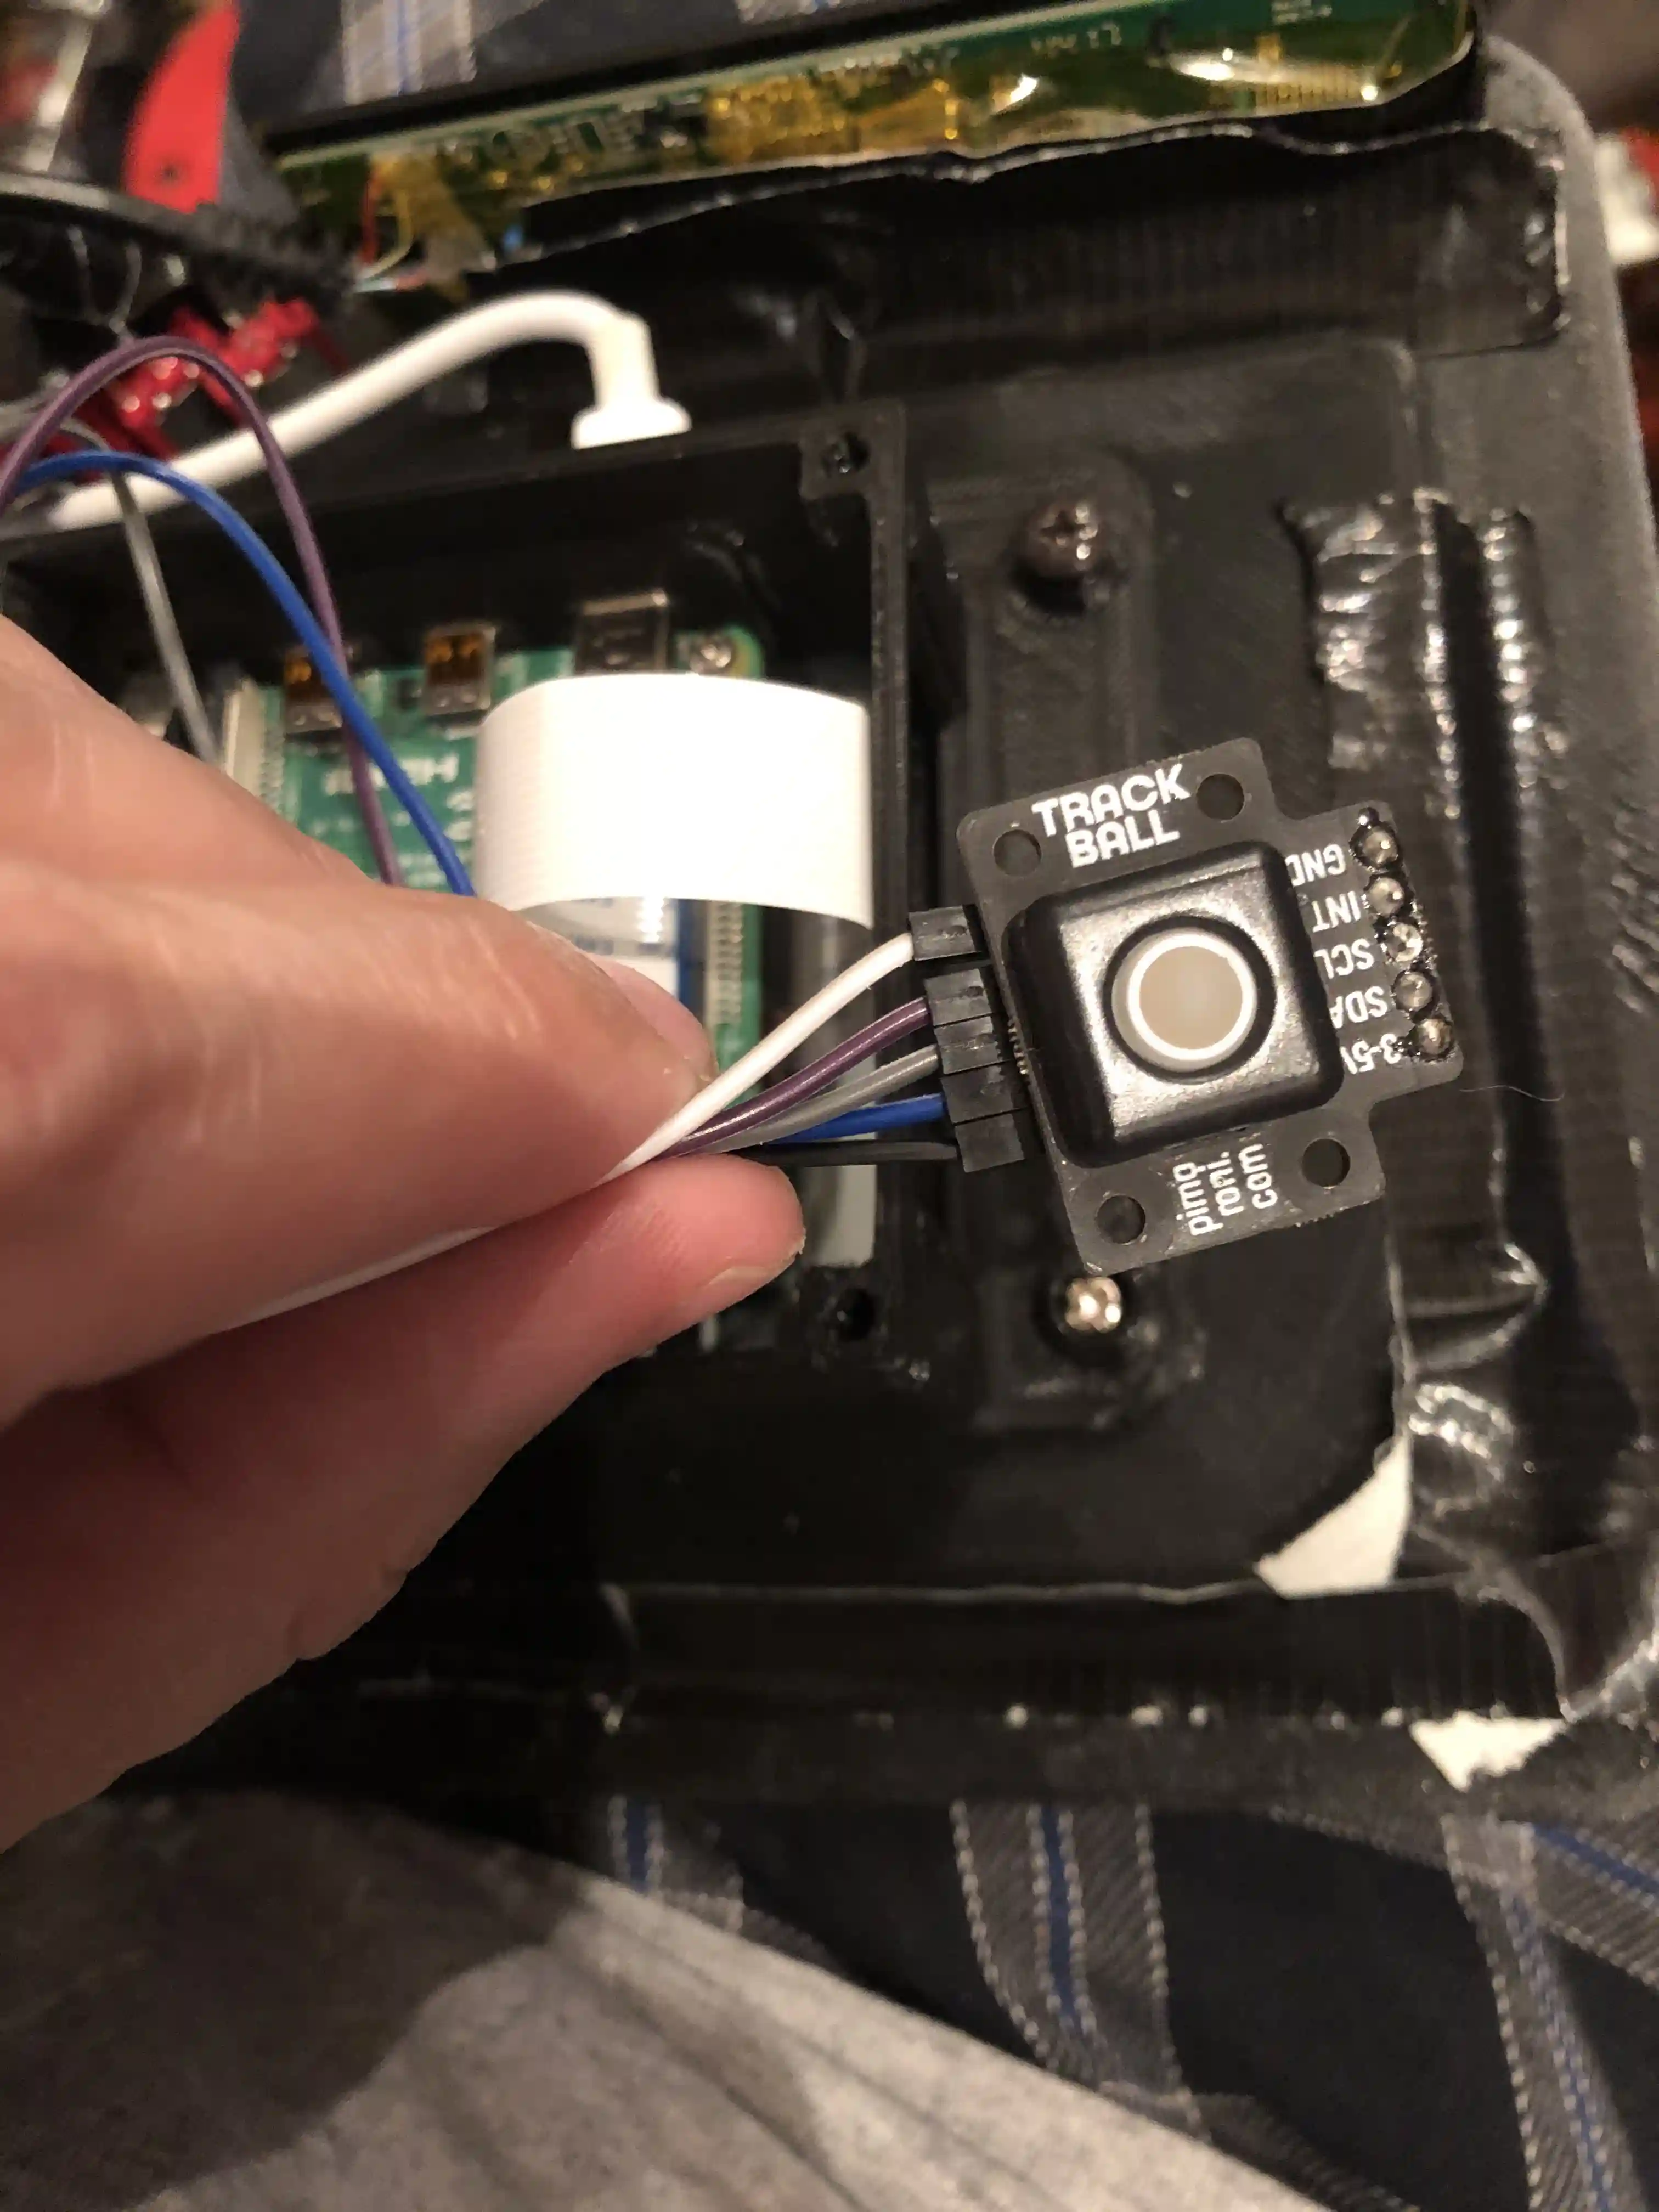
Trackball: Pimoroni Blackberry phone style trackball
Connectivity: USB-C, HDMI, USB hub
Extras: 3D-printed components, tactile switches